01 / In this tutorial we deal with adjusting an internal rotor ignition (type Selettra MHR). The ignition was installed on a Minarelli vertical engine (Booster / BWs, Stunt / Slider etc.), but the instructions basically apply to all scooter engines.
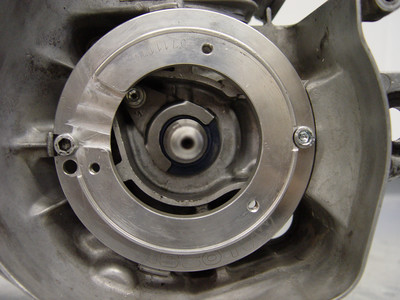
First, insert the base plate into the intended seat and fasten with the two screws.
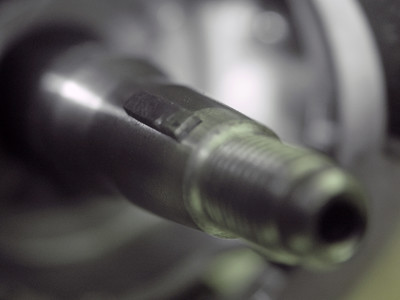
02 / Insert the woodruff key into the slot in the crankshaft. Although using a woodruff key is not mandatory, it is recommended. It prevents the rotor from rotating on the crankshaft. Some internal rotors do not have a slot for the ignition wedge. In this case, you can use Loctite to prevent the rotor from turning.

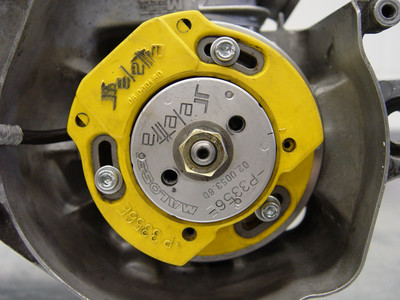
03 / Fasten the stator with the 3 screws.
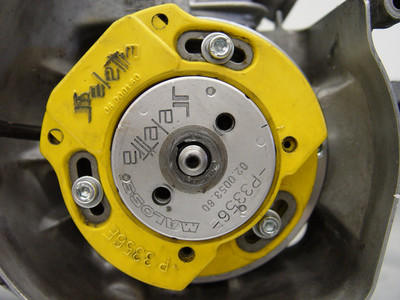
04 / Place the rotor on the crankshaft.
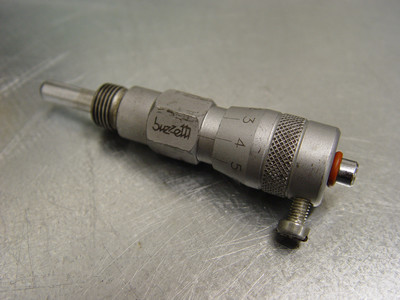
05 / Now we'll need a micrometer (e.g. from Buzzetti, available in our shop).
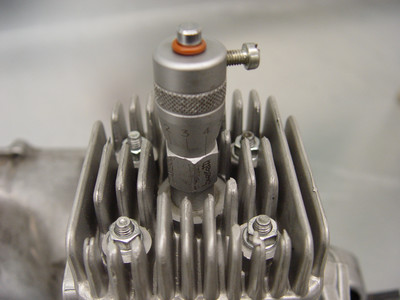
06 / Screw the micrometer into the cylinder head instead of the spark plug.
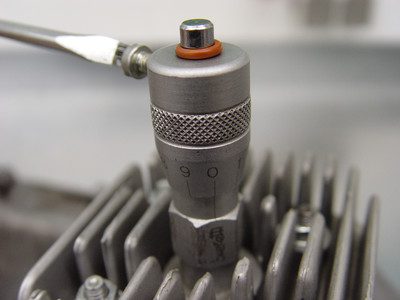
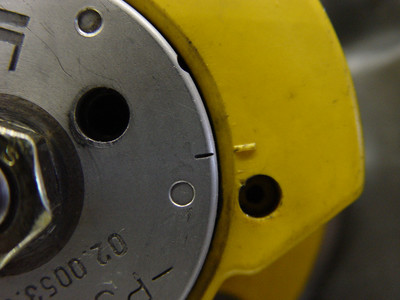
07 / Screw the head on tightly, then loosen by approx. 3 turns and place one of the two marks on the underside opposite the "0" mark on the micrometer. Use a flat-blade screwdriver to loosen the screw on the side of the micrometer.
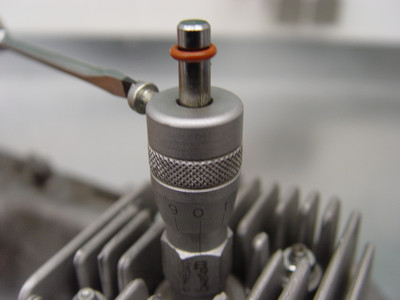
08 / Turn the crankshaft by hand to find the top dead center. When the micrometer screw reaches the highest point, tighten the screw on the side.
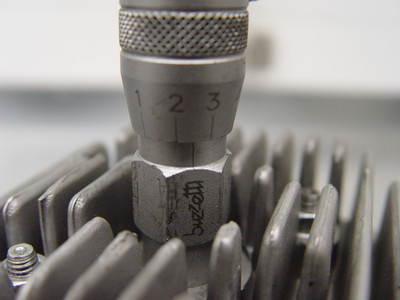
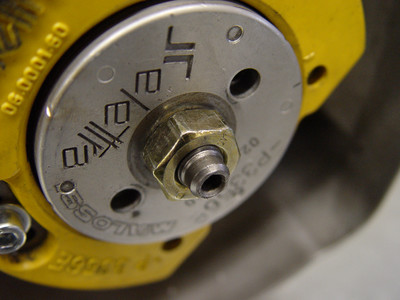
09 / Malossi recommends an advance 2.25 mm before TDC for scooter engines and 3.3 mm for 50cc bikes with Derbi or AM6 engine. For a Selettra Italkit ("analog") the advance should be 1.4 mm before TDC. So, to achieve an advance of 2.25mm, the micrometer must move down by 2.25mm. For the Buzzetti micrometer, one turn corresponds to one millimeter, so you need to make 2 turns + ¼ turn to reach 2.25mm.
10 / Now turn the rotor clockwise. When the rotor touches the micrometer, the mark engraved on the rotor must align with the mark on the stator. To align it exactly, you can turn the stator using the screws. Then tighten the three screws on the stator.
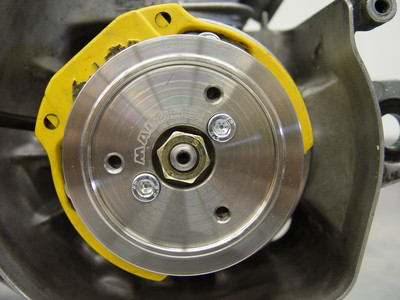
11 / Then tighten the crankshaft nut.
12 / Ignition timing is now completed.
13 / Depending on the model, a driver is supplied. On models for Piaggio it is a driver for the flywheel mass. On models for Peugeot and Minarelli it is a driver for the drive of the fan wheel or water pump.